How to Replace Ping Pong Paddle Rubber and Play Better
The rubber on your paddle can have a huge impact on your ping pong playing experience and your results. Here, we explain how to change the rubber in 11 easy steps.
Robert is a professional journalist who’s also a freelance writer in his free time. He loves science-fiction stories and documentaries about UFO. Robert is also planning t read more
Jim Yang is our site founder. As a pro ping pong player in the past, he's also our main expert consultant. In his spare time, Jim teaches kids table tennis, goes hiking, and read more
Last updated: June 03, 2026
PingPongAcademy is reader-supported. We may earn a commission through products purchased using links on this page. Learn more about our process here
How do you make a ping pong paddle rubber replacement? This is one of the most common questions new table tennis players ask. And this is rightly so for two reasons. A new ping pong paddle can be expensive. Secondly, table tennis rubbers are also not cheap, and no one wants to waste their money on poor rubber placement.
The rubbers of the ping pong rackets are one of the most important aspects to consider if you want to improve your game. For this reason, more and more players are interested in how to change table tennis rubber.
In this article, we are going to see the process of table tennis racket rubber replacement which includes gluing a rubber and a sponge on your table tennis racket. You will see that it is an easy process.
How do you know it’s time to replace the paddle rubber?
The rubber
Trusted SourceTable tennis rubber - WikipediaTable tennis rubber is a type of rubber used as covering on a racket in table tennis. Modern table tennis rubber is usually composed of two layers: a layer of foam underneath and a layer of actual rubber on the surface. There are four common types of table tennis rubbers: short pips, long pips, antispin, and inverted.
en.wikipedia.org
has a lifespan and cannot be used forever. A rubber with poor performance will prevent the friction between the ball and the rubber surface. This will make it difficult to handle the strongly rotating ball.
The time to replace the old with a new rubber is mainly determined by the length of time the current one has been used.
The longer the time it’s used and the more training you had with it, the higher the loss of rubber. Even when used less frequently, with time, the performance of rubber will also be in a gradual attenuation process.
Generally speaking, the estimated rubber replacement cycle is:
For the average training time of 1 to 2 hours per day: about 3 to 4 months (replacement required)
For the average training time of 2 to 3 hours per day: about 2 to 3 months (replacement required)
For the average training time of 3 to 4 hours per day: about 1 to 2 months (replacement required)
If there is almost no stickiness on the rubber surface, or the rubber surface loses luster and starts to turn white, the rubber needs to be replaced.
Also, if the particles on the rubber surface are broken or discolored, or the elasticity and rotation during gameplay are not enough, it is a sign that ping pong paddle rubber replacement is required.
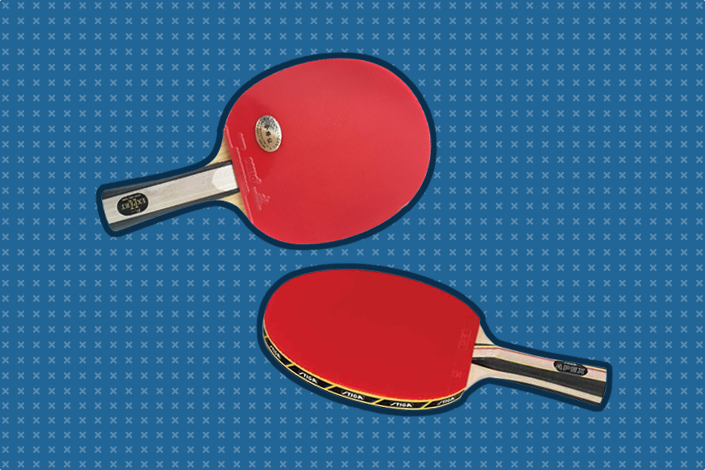
One of the overall best ping pong paddle rubbers presently on the market is the Butterfly Tenergy 05 Rubber. This table tennis rubber is available in red or black and will assist you with drop shots and controls and give you all-around play.
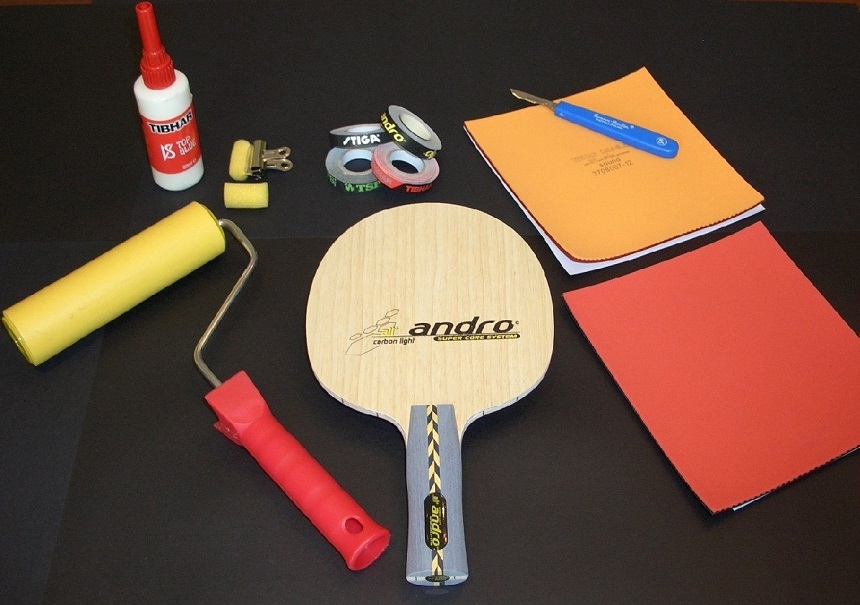
Things you will need
Two pieces of table tennis paddle replacement rubber;
Inorganic glue;
Sponge brush;
Sharp cutting knives;
Glue application clip;
Paddle rubber edge tape;
Cutting boards;
Smooth roller;
How to change the rubber in 11 steps
We are going to see the process of changing the rubbers step by step:
1. Removing table tennis rubber
If the table tennis racket has old rubbers on it, you should gently pry them off the blade (wood) diagonally. Do not try to lift the sponge and rubber vertically from the handle upwards, as it could lift a splinter.
2. Removing old glue
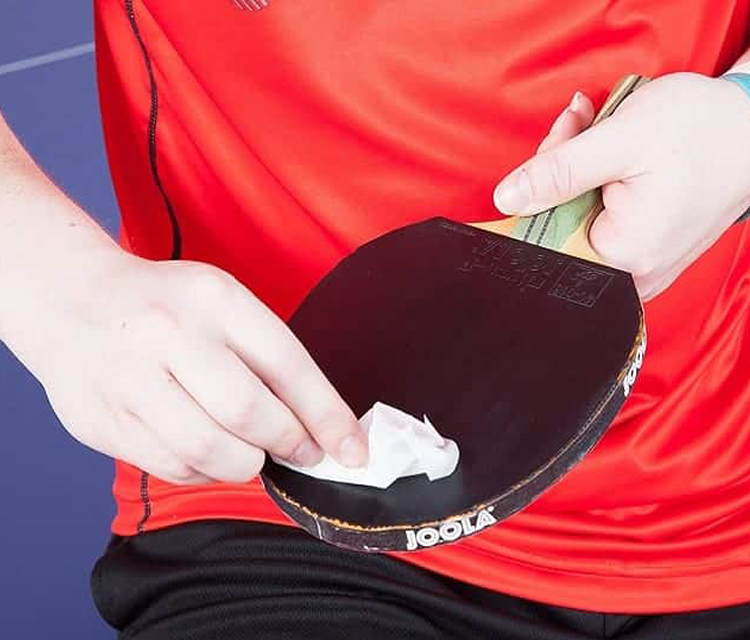
Clean the wood several times with a soft cloth to remove any glue that remains on the racket wood. You will notice the remains of the previous glue and sponge. Rub gently with a cloth to remove all the remaining glue. Repeat the process until the wood is completely clean. This is done to make the ping-pong paddle sticky again when you apply the glue.
One side of the rubber sponge can also be used as a tool to remove the inorganic glue on the soleplate.
3. Placing the rubber
Place the rubber top layer down on the table. There are many ping pong paddle rubber types, but whichever you choose, don’t forget to place it on a clean piece of paper or plastic to prevent the rubber surface from absorbing any dust or impurities from the table.
4. Outlining the racket
Now, simply place the racket wood on the sponge in the correct position and outline the racket with a pen or pencil on the sponge. Keep in mind that the logo on the rubber has to be located next to the handle.
5. Applying the glue
Open the tube of glue (use a special adhesive to glue the rubber of the ping pong rackets) and a small folded sheet of paper (or brush if you prefer). Then put a little adhesive on the sponge, spreading it with the piece of paper until there is a thin but even layer of glue on the entire surface.
One of the best ping pong racket glues to buy, according to those who have tried DIY ping pong paddle process before, is the Butterfly Racket Glue. This comes with sponges and a clip for applying the glue.
6. Spreading the glue over the rubber
Spread the glue a little outside the contour (drawn before) of the sponge because you will not be able to place it exactly as you did before. And if not, the edges of the rubber bands could peel off over time due to lack of sufficient glue. Make sure to cover the entire inside of the outline with a layer of glue.
7. Spreading the glue over the blade
Now carry out the same procedure with the surface of the wood, placing a thin layer of glue all over. A good tip is to lean the racket a little against light to see better if the glue has been spread evenly over the entire blade or, on the contrary, there are some areas where it has not been applied.
8. Placing the rubber on the wood
As soon as you have finished putting the glue on the wood, carefully place the rubber on the wood. With a roller (or something similar like a bottle, glass jar, etc.), gently press down on the rubber with a roller to make sure it is firmly attached while the glue dries. Keep in mind that the handle is thicker, so it must be off the work surface for the pressure of the weight to have the proper effect.
9. Cutting the excess rubber off
You can wait between half an hour and an hour to cut the excess rubber off with a pair of sharp scissors or a cutter. If you are going to cut the rubber with the cutter, put something under the racket so that you do not cut the table you are working on.
After the table tennis rubber and the plate are completely glued together, place one side of the viscose rubber on the cutting board. Start cutting from the left side of the bottom plate clockwise by fitting the cutting knife to the edge of the bottom plate. The knife or cutter must be sharp and must be pressed firmly so that the blade cuts through the sponge and rubber.
10. Repeating the steps for the other side
Now repeat the whole process to change the rubbers on the other side of the racket.
11. Taping around the edge of the paddle
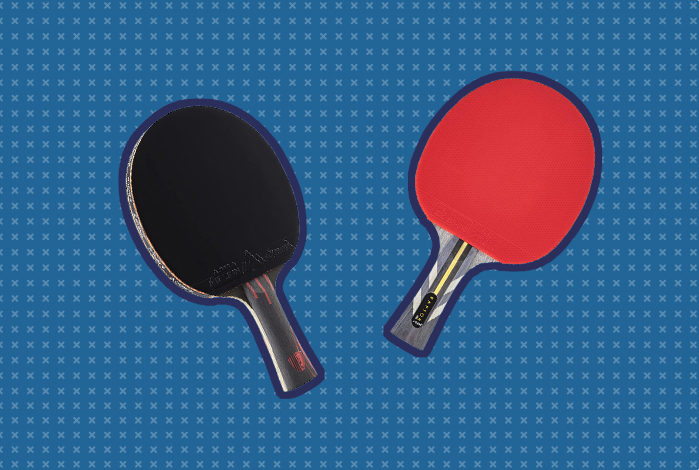
Finally, tape around the outer edge of the paddle to protect the edge and give it the finishing touch. Not sure of which tape to use? Table tennis experts recommend the Butterfly Side Tape. Available in magenta, white, and black, it will protect the rubber edge and also make the paddle more attractive.
Tips
Wait for the glue to dry before pasting the rubber on the paddle. In a normal environment, it takes at least 10 minutes for the glue on the rubber. The inorganic glue on the bottom plate should become transparent before it can be pasted. If it does not become transparent for 10 minutes, it means that the room is a little wet. You should wait for the glue to dry.
You can use a hairdryer, but not hot air, to make the glue dry faster.
Remember to make the logo in the rubber brand and the bottom plate symmetrical (90% of the rubber logos on the market are in the middle). After alignment, there should not be any space between the bottom of the table tennis rubber and the upper part of the handle.
If you’re too disoriented about the process or you want to skip the process of replacement, you can, by the way, get a new ping pong paddle. There are many models that cost below $100. There are even high-quality ones for the intermediate beginner to the budding player that cost less than $50.
Final thoughts
The ping-pong paddle rubber has a long life. However, if you’re not looking to replace the paddle any soon, you should know that the same rubber sleeve cannot be used forever. A degraded rubber will not be able to curve the ball or help you get the right bounce, which will affect your overall performance.
With the ping pong paddle replacement process above, you will be able to change the rubbers of any ping pong paddle when necessary. The main point of the whole process is to put a thin layer of glue on the entire face of the rubber and the wood so that it can create an adhesion between the two surfaces.
Remember that the rubbers must be cleaned regularly and protected when not playing. We hope this has been helpful to you.
References
1.
Table tennis rubber - Wikipedia
Table tennis rubber is a type of rubber used as covering on a racket in table tennis. Modern table tennis rubber is usually composed of two layers: a layer of foam underneath and a layer of actual rubber on the surface. There are four common types of table tennis rubbers: short pips, long pips, antispin, and inverted.


 Two pieces of table tennis paddle replacement rubber;
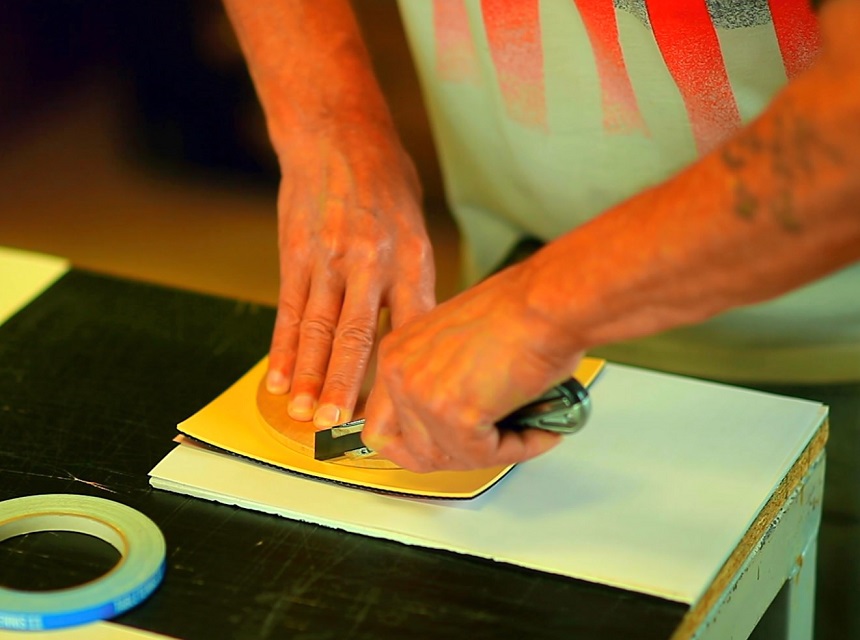 We are going to see the process of changing the rubbers step by step:
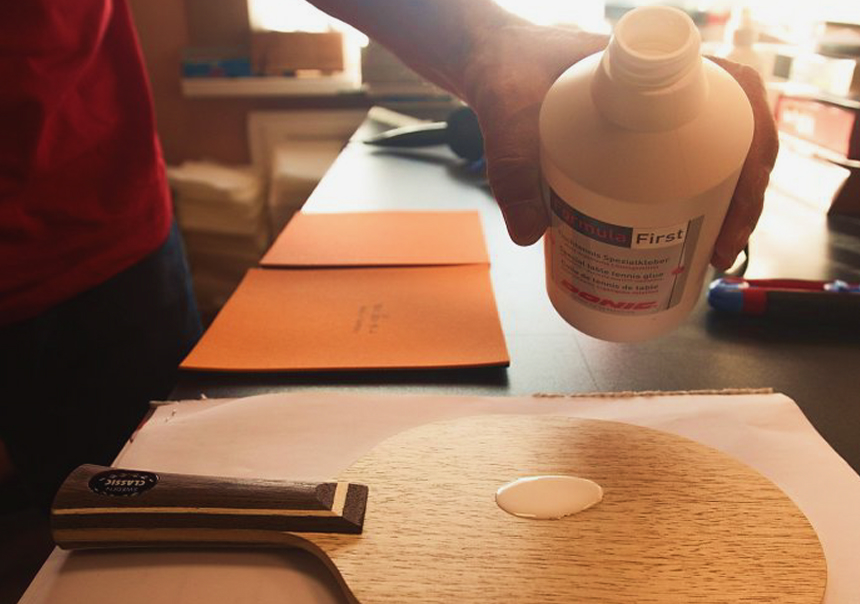 Open the tube of glue (use a special adhesive to glue the rubber of the ping pong rackets) and a small folded sheet of paper (or brush if you prefer). Then put a little adhesive on the sponge, spreading it with the piece of paper until there is a thin but even layer of glue on the entire surface.
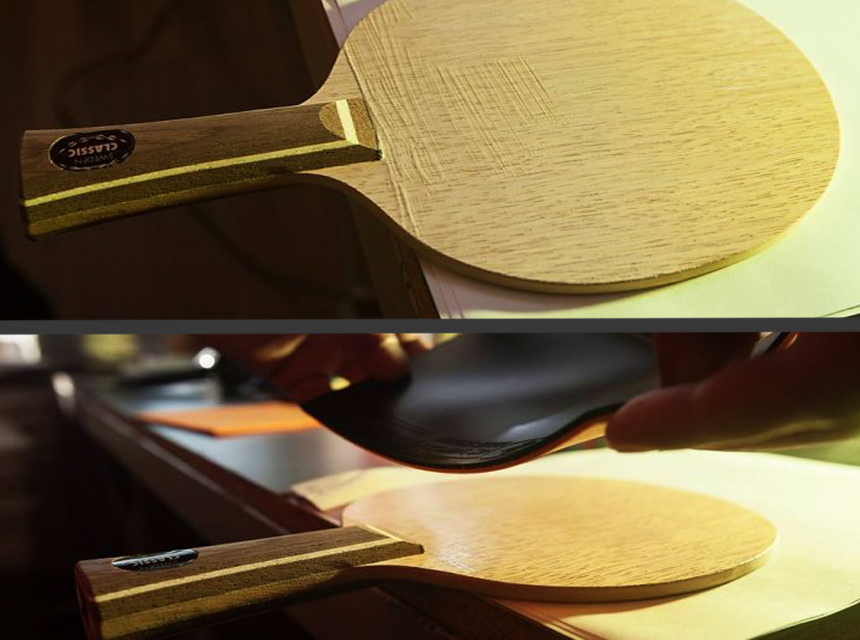 As soon as you have finished putting the glue on the wood, carefully place the rubber on the wood. With a roller (or something similar like a bottle, glass jar, etc.), gently press down on the rubber with a roller to make sure it is firmly attached while the glue dries. Keep in mind that the handle is thicker, so it must be off the work surface for the pressure of the weight to have the proper effect.